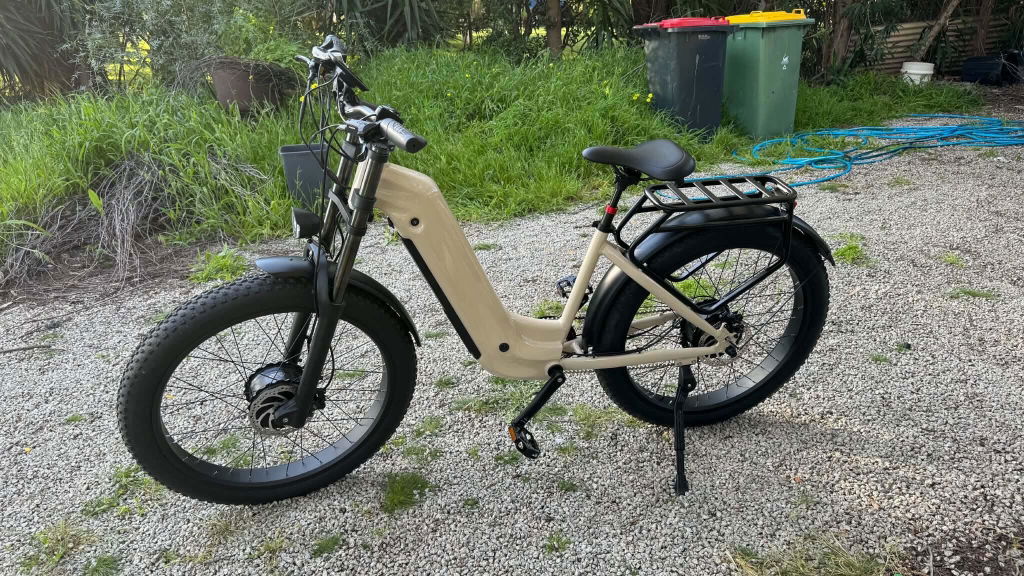
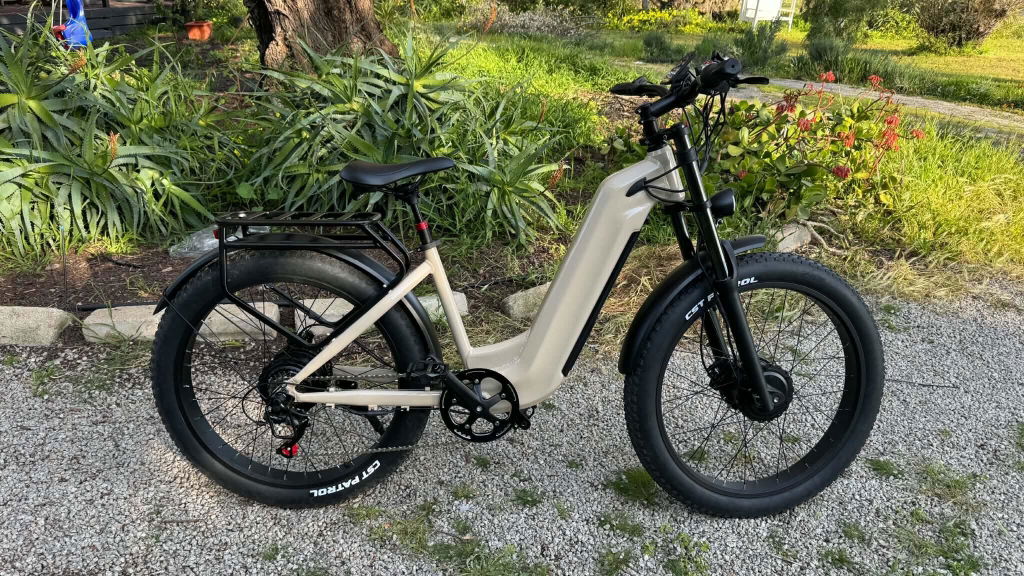
How to Maintain eBike Brakes for Safer Riding
Share
A powerful e-bike makes hills, headwinds and loaded-up trips feel easy. That extra speed and weight also mean your brakes do more work than they would on a standard bike. A quick stop at a busy intersection, a steep fire trail descent or a school-run cargo ride all depend on brakes that bite cleanly and predictably. Knowing how to maintain e-bike brakes helps keep every ride controlled, confident and ready for real Australian conditions.
Most e-bikes use disc brakes, either cable-operated mechanical discs or hydraulic discs. Both are reliable systems, but they need regular attention. Dust, wet weather, coastal air, corrugated paths and long downhill runs can all affect braking performance faster than many riders expect.
Start with a fast pre-ride brake check
Before every ride, roll the bike slowly and squeeze each brake lever one at a time. The wheel should stop firmly, without a grinding sound or a lever pulling all the way back to the handlebar.
Check that the levers feel positive. A mechanical brake lever that feels loose may need cable adjustment. A hydraulic lever that feels spongy, moves too far or changes suddenly from its usual feel can point to air in the system, worn pads or a fluid issue. Do not assume it will sort itself out on the road.
Then look at the rotor - the metal disc at the wheel hub. It should sit straight and spin freely with only minimal rubbing. A light occasional whisper can be normal, particularly after transport or a wheel change. Constant scraping, pulsing at the lever or a rotor that visibly wobbles needs attention before a bigger ride.
For cargo e-bikes, dual-motor models and long-range moped-style bikes, make this check non-negotiable. More bike, more battery and more gear create more momentum. Strong brakes are not an optional extra.
Keep rotors and pads clean
Disc brakes work through friction, so clean contact surfaces matter. Oils, sprays and even fingerprints can contaminate a rotor or pad, reducing stopping power and causing the familiar high-pitched squeal.
Clean rotors with a dedicated disc brake cleaner or isopropyl alcohol on a clean, lint-free cloth. Wipe both sides of the rotor, then let it dry fully. Keep lubricants, polish, chain cleaner and tyre shine well away from the rotor and caliper. When lubricating your chain, cover the rotor with a clean rag or remove the wheel if you are doing a thorough drivetrain clean.
Never spray cleaner directly into the caliper. Overspray can reach the pads and create the very problem you are trying to prevent. If pads have absorbed oil, they often need replacing. Sanding may temporarily reduce noise, but it is not always a dependable fix for a bike that needs reliable stopping power.
Mud and trail dust deserve a mention too. After a wet off-road ride, rinse grime from the bike gently, avoiding high-pressure water around bearings, seals and brake calipers. Dry the rotors with a clean cloth, then test the brakes before your next ride. Surface rust can appear overnight after rain, but usually clears after a few controlled stops.
Check pad wear before it becomes a problem
Brake pads are consumable parts. They are designed to wear down, and e-bike riders can go through them faster than traditional cyclists - especially when commuting through traffic, carrying a passenger or descending regularly.
Look into the caliper from above or remove the wheel for a clearer view. You are checking the friction material, not the metal backing plate. If there is around 1 mm of pad material or less remaining, replace the pads. If you hear metal-on-metal grinding, stop riding immediately. Continuing to ride can score the rotor, turn a simple pad change into a more expensive repair and seriously weaken braking performance.
Pad life varies widely. A flat, dry commute may be gentle on brakes, while sandy paths, wet winter roads and steep trails can wear them quickly. There is no useful one-size-fits-all kilometre figure. Inspect them regularly instead of waiting for a noise or a failure warning.
When fitting new pads, use the correct pad shape and compound for your caliper. Organic pads are often quieter and offer good feel, while metallic or sintered pads generally handle heat and wet, gritty riding better. The trade-off is that metallic pads can be noisier and may wear rotors faster. Riders who tackle long descents or rough terrain may value heat resistance; everyday urban riders may prefer quieter braking.
Bed in new e-bike brake pads properly
New pads and rotors need bedding in. This transfers an even layer of pad material onto the rotor, delivering stronger, smoother braking and reducing noise.
In a safe, traffic-free area, build to a moderate speed and apply one brake firmly until you slow right down, without locking the wheel. Release the brake and repeat about 10 to 15 times for each end. Follow with several harder stops from a slightly higher speed. Allow a moment between stops so the system does not overheat.
Avoid coming to a complete stop with the brake clamped hard when the rotors are extremely hot. It can leave an uneven pad deposit and create pulsing. Also avoid a big downhill ride straight after fitting pads - give them a proper bed-in first.
Adjust mechanical brakes or book hydraulic servicing
Mechanical disc brakes use a cable. Over time, cable stretch and pad wear can make the lever travel further before the brake engages. Many mechanical calipers have a pad-adjustment dial, while the barrel adjuster near the lever can take up small amounts of cable slack.
Make small adjustments, then spin the wheel and test the lever. The goal is a firm lever with the wheel still spinning freely. Over-tightening can cause constant pad rub, heat build-up and faster wear. If the cable is frayed, rusty or sticky, replace it rather than trying to rescue it with more adjustment.
Hydraulic brakes automatically compensate for normal pad wear, which is one reason they suit higher-performance e-bikes. But they are not maintenance-free. A spongy lever, fluid leak, damaged hose or inconsistent bite point can mean the system needs a bleed or repair.
Brake fluid is not universal. Systems typically use either mineral oil or DOT fluid, and using the wrong one can damage seals. Unless you have the right bleed kit, manufacturer-approved fluid and confidence with the process, hydraulic brake work is best handled by a qualified bike technician. Brakes are a safety system, not the place for a guess-and-go repair.
Prevent rotor rub after transport or wheel removal
A rotor can be bent by a knock in a bike rack, a fall, a crowded garage or careless wheel handling. If the rotor rubs once per revolution, inspect it closely while spinning the wheel. A minor bend can sometimes be carefully straightened with a proper rotor truing tool, but it is easy to make the issue worse without one.
More often, the caliper simply needs centring. Loosen the two caliper mounting bolts slightly, squeeze and hold the relevant brake lever, then tighten the bolts evenly to the manufacturer’s specified torque. Spin the wheel again. If it still rubs, check that the wheel is seated correctly in the dropouts and that the axle is secured.
Never touch a rotor straight after a long descent. It can be hot enough to burn skin, especially on a loaded e-bike.
Build brake care into your regular e-bike routine
You do not need a workshop bench or a mechanic’s vocabulary to stay ahead of brake wear. A simple routine catches most issues early:
- Before each ride, test lever feel and confirm both wheels stop firmly.
- Every few weeks, clean rotors and inspect pads, bolts, cables and hoses.
- After wet, muddy or sandy rides, clean the braking surfaces and listen for new noise.
- At least once a year, or sooner for frequent riders, have the bike professionally checked.
Merkx riders choose power for a reason: to climb harder, travel further and make everyday transport more enjoyable. Keep that power matched with predictable braking. A few minutes of care before the weekend trail loop or weekday commute can make every stop feel exactly as it should - strong, straight and fully under control.